TL;DR
Install the driver in compatibility mode with Windows 7.
Skip CanoScan Toolbox — use VueScan instead.
If scans come out scrambled, uninstall the driver with the delete utility (also in compatibility mode), reboot, reinstall, replug the USB, and scan again.
Intro
Is there a feeling better than finding an old scanner from the mid-2000s, tracking down a driver for it, and actually getting it to work?
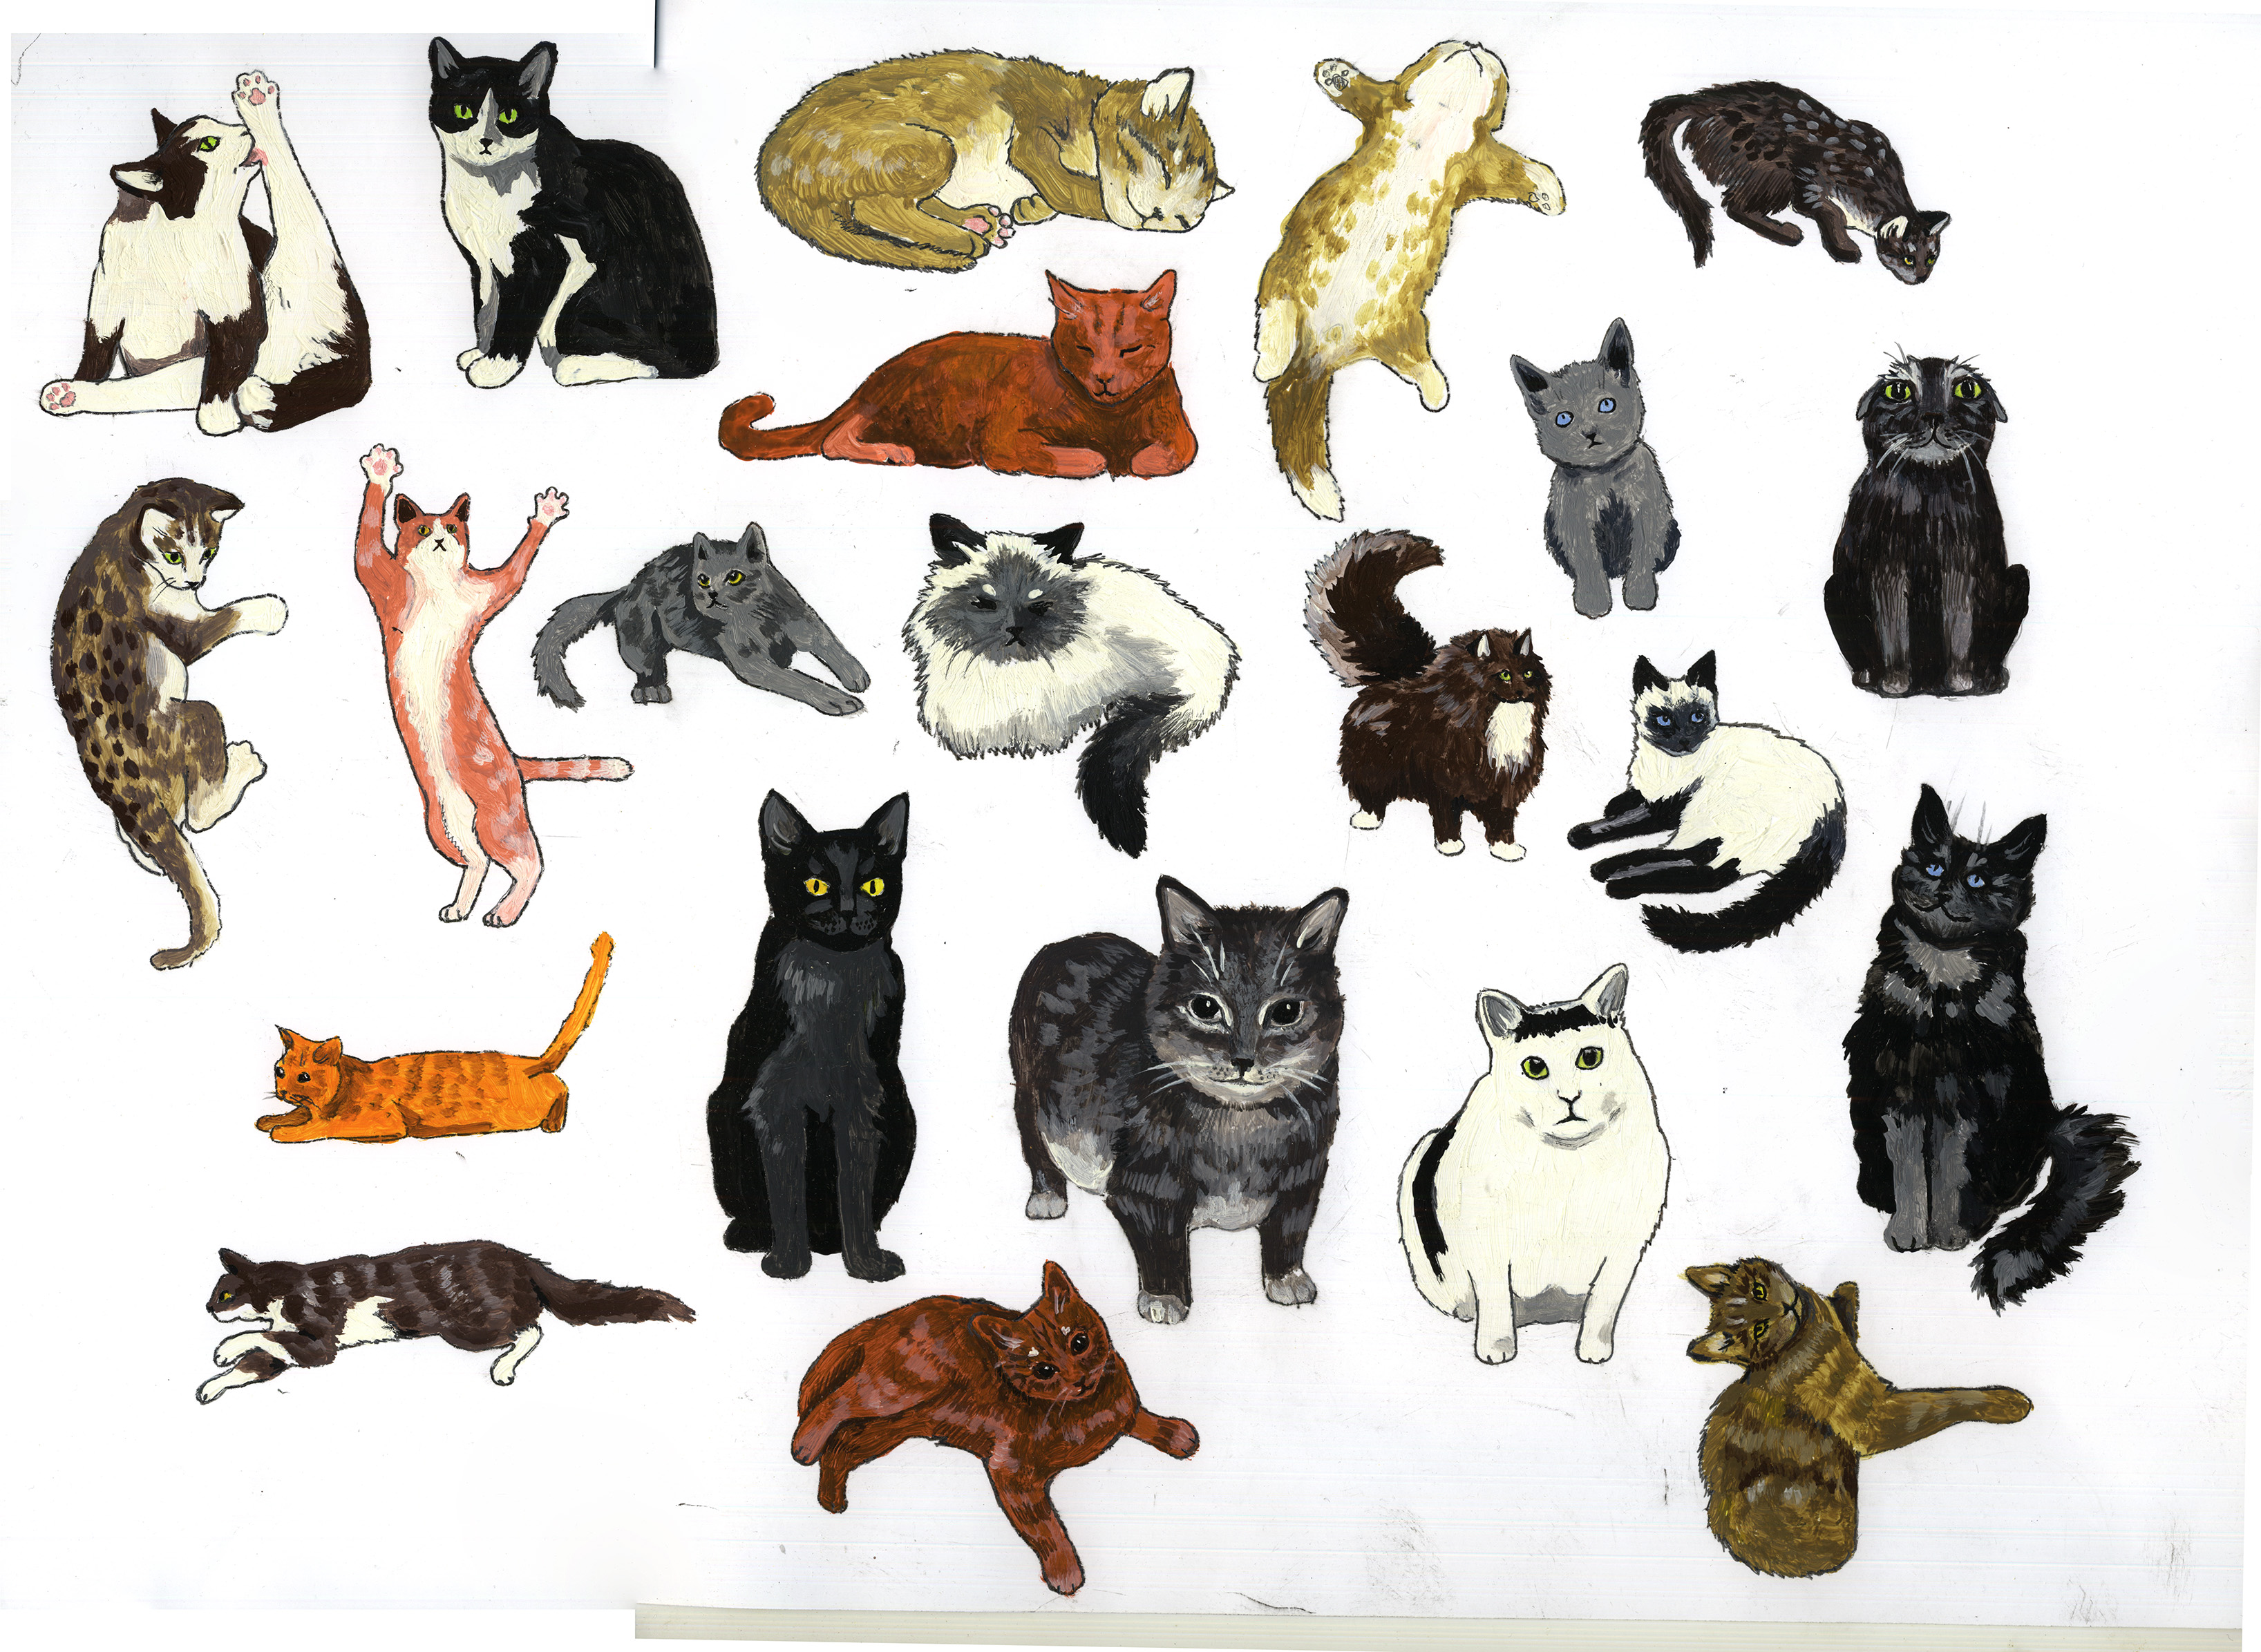
I needed to scan a few hand-drawn pictures. My phone is fine for documents, but I wasn’t happy with the quality for artwork — and I wanted everything to come out at a consistent resolution with accurate colours. My parents’ CanoScan 4200F had been sitting in a drawer for years, but I figured it was worth a shot. When I saw the CanoScan Toolbox UI, I got a few childhood flashbacks.
I was right to try it. It worked.
Drivers
Canon officially dropped support after Windows 7, but the drivers are still on their website. I backed them up here just in case they disappear:
Original source: Canon Europe support page
Installation
- Right-click the driver installer
- Properties → Compatibility
- Check Run this program in compatibility mode for Windows 7
- Apply
- Run it.
Bless Windows, the installer works fine on Windows 11 in compatibility mode. It did give me a warning asking if it actually did install correctly. It did for me.
Skip CanoScan Toolbox
I gave up on CanoScan Toolbox immediately. Every time I tried to scan, it gave me:
Unable to open TWAIN source Please check connection Then re-start Toolbox
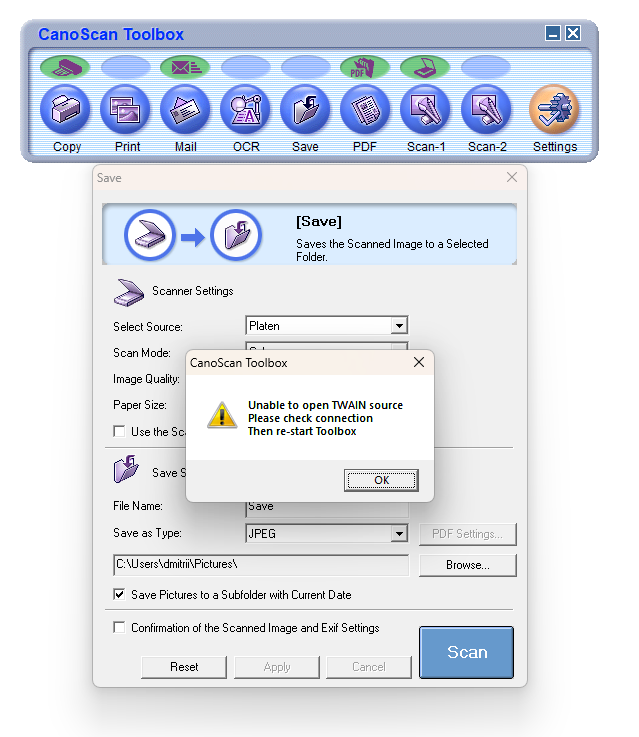
I didn’t dig into why — I just moved on to VueScan, which picked up the scanner as soon as the driver was installed.
Fixing scrambled scans
The first scans I got from VueScan were wrong: the image was split into horizontal strips that were out of order and vertically offset.
Here’s what fixed it:
- Run the driver delete utility in compatibility mode with Windows 7.
- Reboot.
- Reinstall the driver, again in compatibility mode with Windows 7.
- Replug the USB cable.
- Scan.
I also ran VueScan itself in Windows 7 compatibility mode. After I turned that off it kept working fine, so it probably wasn’t necessary — but I can’t be sure it made no difference, so I’m noting it here.
Scanning an A3 canvas
The scanner bed is A4, so for a larger canvas I scanned it in multiple passes and stitched them together in Photoshop using File → Automate → Photomerge. A bit of levels tweaking and here’s the result: